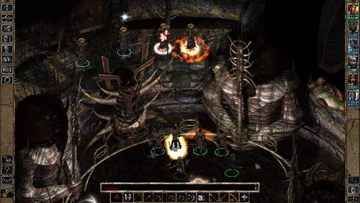
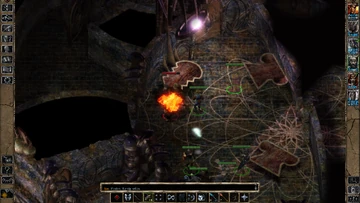
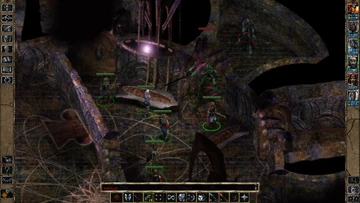
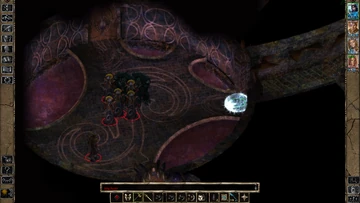
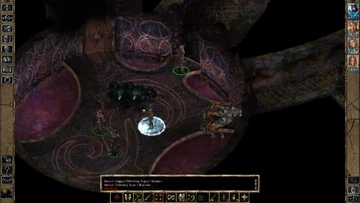
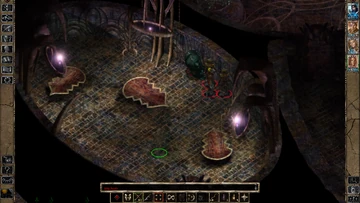
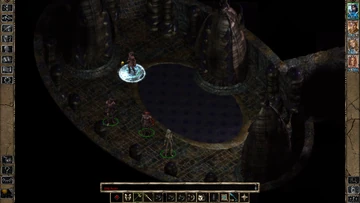
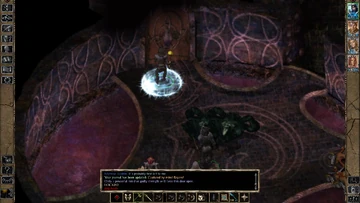
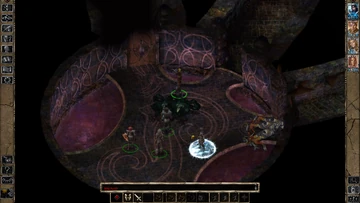
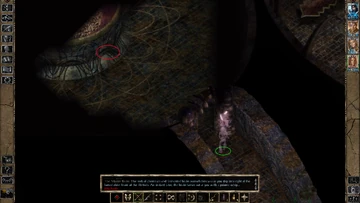
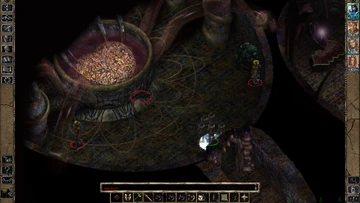
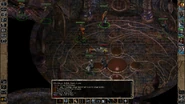
Captured by Mind Flayers! is a side quest which can be started when the party goes to the southeastern side of the Underdark and travels to another area, the Mind Flayers in Underdark also known as the Eastern Tunnels as marked on the player's Underdark Automap notes.
Aquisition[]
This side quest is available in Baldur's Gate II: Shadows of Amn and in Baldur's Gate II: Enhanced Edition. The player can visit this area anytime it wishes once it transitions to the Underdark from Chapter 4.
However, if the player does not enter this area and waits until it has the The Drow Summoning Ritual quest line and has already completed Inside the Drow City tasks - then Matron Mother Ardulace Despana will assign an actual quest purpose to the party, and a reason is provided to seek the Elder Brain Blood in the Eastern Tunnels. There are two alternative quest items that will suffice as well, so there is no requirement to visit this particular area.
Level dependent spawns[]
This area will trigger a spawn script when the party transitions into the area via a hidden proximity region. The game engine looks at the protagonist's accrued total experience point value, and that will determine the quantity of additional creatures placed on the areas map locations - these are extra creatures beyond the base actors already on the map. The game difficulty slider does not influence the spawn quantity. There are four tiers of spawns based on the XP level of Gorion's Ward:
- <400,000: Mind Flayer (×1)
- 400,000 - 999,999: Mind Flayer (×2)
- 1,000,000 - 1,999,999: Mind Flayer (×3), Umber Hulk (×1)
- 2, 000,000: Mind Flayer (×4), Umber Hulk (×2)
Note that with Mod content discussed below, the spawned creatures are game difficulty setting dependent.
Walkthrough[]
Capture[]
Enter the Mind Flayer Dungeon from the southeast corner of the Underdark. Moments later, the Mind Flayers will use their psionic powers to make all party members suffer a "Psychic Drain" effect. This action is accomplished via a cutscene.
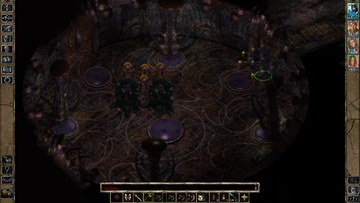
Jailed and forced to battle in the gladiatorial fighting pit[]
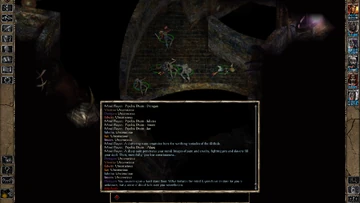
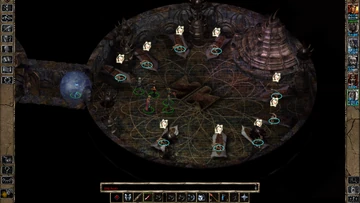
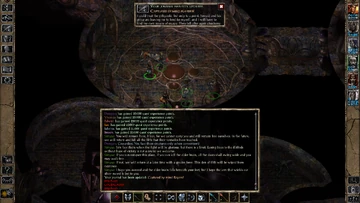
After returning to a conscious state, you will find out that your party is locked up in a cell and that you are prisoners. A few minutes pass, and a Ogre (Mind Flayer Jailer) opens the cell and speaks, informing the party of their fate. He will explain that you must fight creatures to entertain the Mind Flayer spectators in some kind of arena or pit or be destroyed. The player's auto map notes this location as the "Gladiatorial Fighting Pit". The player's journal will update:
- Captured by mind flayers! I have stumbled upon a mind flayer enclave, and I am in serious trouble. I am to fight in their pit, presumably for their amusement. I do not know if it is possible to escape from the center of a mind flayer stronghold. They will be at their most powerful here.

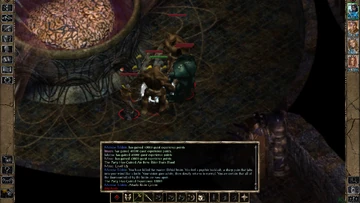
The Ogre jailer says you will need to fight soon, and without delay the party is transported to the fighting pit to face several Umber Hulk opponents.
While in the fighting pit, the party was not able to see any Mind Flayer spectators, but you could feel their presence and just know they are watching.
An oppressive feeling of intrusion upon your psyche is nagging in the back of the mind.
Meet the githyanki prisoners[]
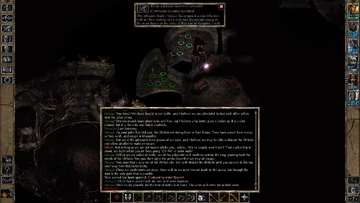
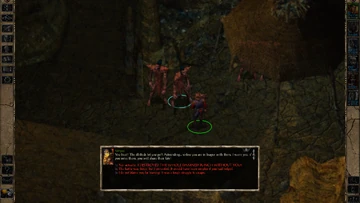
When you return after surviving your first battle, open the door to the cell northeast and speak to Simyaz, leader of a group of Githyanki, who have also been captured by the Illithids. After participating in the raid on your ship on the return from Spellhold, their ship was also sunk by the Sahuagin. After dialogue with the new cell mates, the player's journal updates:
- Captured by mind flayers! It would appear that I am not the only one that has been captured and forced to fight. There is a group of githyanki here as well, the same group that attacked Saemon Havarian's ship. I hope they prove friendlier now that we are in the same predicament. Their hatred of illithids may make them willing to help us both escape.
The githyank knew that they would be next up in the pit. And that occurs. They are returned to their cell, a bit battered and bruised, but all but one survived. The Ogre jailer has said that the party and the githyanki will fight each other in the next pit match. Simyaz proposes a plan, to work together with the player. There is much dialogue available about this.
On the other hand, if the party can come to an agreement with Simyaz, then the githyanki will interfere with the illithids in a psychic battle of wills to allow the party to finish off any other opponents in the arena, and then find a door to escape the fighting pit. The player's journal updates:
- The githyanki leader, Simyaz, has proposed a plan. His men will use their abilities to try and block the mental energy of the mind flayers in the arena. If they can be disrupted, I will be able to open the arena door and escape into the illithid city proper. From there, I'm not sure. I don't know if I can trust Simyaz, but I have little choice.
Some time passes, and the Ogre jailer informs the party that the battle is to begin. Once again the player's forces are in the pit.
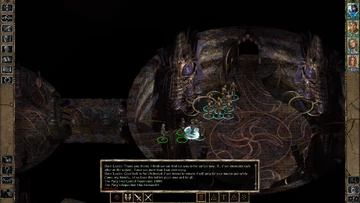
They will have to protect the githyanki from a number of Kuo-toa opponents, and the githyanki are engaged in a group chant and psychic trance to suppress or disrupt the illithid.
Once the enemy is defeated try and get through the eastern door of the pit. The githyanki will continue the mental battle while the party tries its escape. The psychic seals should be weakened, and the party can try to open it.
It has a normal lock on it, and will need to be picked or forced open, or perhaps a Knock spell.
Once through the door and into the main illithid complex the party must now get past the hostile Ogre Jailer. He may have sounded kind of friendly, but he isn't now.
After escaping the jail and initial exploration[]
Now free of the fighting pit and control by the Ogre jailer, the party must conduct a careful exploration of the illithid complex, to not only find a means to escape, but possibly recover some of that Elder Brain Blood if the player has an open quest requirement from Matron Mother Ardulace Despana. Either way, it's time to move forward and trying to rest might be an impossibility. With the initiative regained for now, the player should capitalize on freedom of action and get cracking.
Jailer room[]
After defeating the Ogre Jailer, make sure you search for any containers that may contain items of interest. A wall cache contains some gold, and table contains the Hilt of the Equalizer. There is a passage leading north, and one is southward direction. Going north leads to a chamber with two sealed doors. An easterly path leads to a room with additional Jails cells, and a corridor heading further east.
More jail cells[]
The two jail cell doors are locked. If opened, there are some hostile creatures within, including a Sahuagin Baronial Guard and Sahuagin Prince in one cell.
In another cell are two crossbow wielding Kuo-toan Warrior creatures. They will move out and attack once the cell door is ajar.
These prisoners were most likely gladiatorial combat fodder.
Room with vats[]
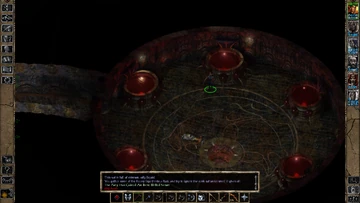
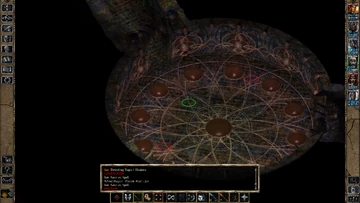
Continue east into another chamber, where a Mind Flayer is observed within, and will attack. Once dispatched the party can investigate the six vats placed along the roundish room's interior. A text string will display if the player hovers their cursor over a vat:
- This vat is full of crimson, oily liquid.
Interacting with the vat by clicking it displays:
- You gather some of the heavy liquid into a flask and try to ignore the rank sulfurous smell it gives off.
The party member has the Illithid Serum item placed in their inventory.
Moving South[]
A curving corridor leads to another round chamber in which are at least two Mind Flayers.
They are hostile and will attack any detected party members.
Be prepared for their Psionic Blast or Psionic Domination attacks.
Another corridor leads southeast through a door.
Slaves and illithid machine[]
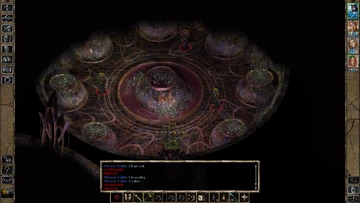
A larger round room is observed. Odd illithid globes, tubing, and interconnected machinery of alien origin is quietly humming and throbbing with purpose.
Various humanoids are seen connected to this apparatus - and they appear to be in some kind of stupor or impaired state. Trying to speak with these humans gets no response.
They are oblivious and eyes are closed. Some of them are sporadically twitching slightly , and show rapid eye movement beneath their eyelids.
If the player's cursor is hovered over one of the six globes a text displays:
- When you examine this strange device, you notice that it seems to be pumping some sort of liquid into the veins of the unconscious surface-worlders. Looking more closely, you see that there is a tube where you could put more fluid.
If the player wishes to add the Illithid Serum to one of these tubes (accomplished by clicking on the globe and having the serum in the inventory), then another text displays:
- You pour the fluid into the machine. Almost immediately, you notice the liquid being pumped into the surface-worlders' blood change color. A few minutes later, you notice that the change has occurred in all the machines across the room.
A cut scene now initiates, and all the human surface dwellers awaken from their stupor - the Slave Leader initiates dialogue with the party. He begins with:
- You... you have freed us, stranger. Thank Ilmater! You cannot imagine what a horror it was, nightmare after nightmare without the ability to awaken!"
Further conversation will continue, and the party may ask questions and get some answers about their experiences and what they know of this place. The party learns that the slaves connected to the machine powered it in some way and were able to produce the Control Circlet item. The Slave leader, who tells you his name is Camaris Highcastle, is unsure exactly what the circlets do, or if the machine could make more, and even if that may help the party while in this complex. Camaris says that he and the freed slaves can remain quiet, but that the party will have to find a way out, as they are overmatched and too weak to battle mind flayers. Once freed he says they will be able to find their own way out of the Underdark.
If the player wishes, then interacting with the main machine console is possible. Examining it reveals the following text:
- "This machine hums from the energy coursing through it. As you run your fingers across its smooth surface, an electrical tingle runs through your body. When you touch the machine, it hums louder for a brief moment. Then, a golden circlet materializes in your hand."
The machine is able to produce four circlets before it runs too low on power.
These objects will be placed in the characters inventory.
Each circlet has a limited charge quantity and can be activated/used by placing the object in one of the quick item slots (like where a wand or potion would go).
Room with sealed doors[]
The chamber to the north of the Jail room has two closed doors that are sealed shut. Moving in close proximity to either initiates a Journal entry:
- "Captured by mind flayers! An odd door blocks my progress through the illithid city. Other than the dreaded mind flayers themselves, I suspect only a being of great power could force this door open."
Several clues have now been given that a Mind Flayer can open a sealed door. It hasn't been made very clear what the "being of great power" could be. That fact aside, and at the risk of being a spoiler - that great being can be had by the protagonist activating their Slayer Form power. Once activated, this form can force the door open.
If that seems like a method not desirable by the player, then perhaps one of those Control Circlets can be used to Charm a Mind Flayer to open the door. Are there any Mind Flayers still alive in this section of the complex?
Well, yes there is actually. Return to the Room with Vats where the Illithid Serum was found.
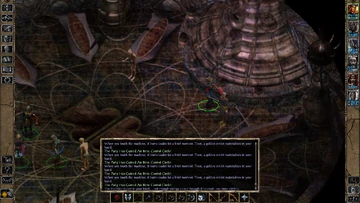
A Mind Flayer will be present, and attack as is usual. If the player can Dire Charm it with the circlet, then guide and control the illithid next to the sealed door to open.
When it gets close to it, the door will open. And surprisingly, the Dire Charm will end, and the creature is hostile.
The Githyanki bid farewell[]
When the door is opened, Simyaz and the githyanki teleport into the room and address the character (unless the party killed them earlier, then this won't occur). In short, the githyanki are able to planar travel via their own psionic powers but cannot free the party as well. Simyaz may say:
- "You have done well, and the githyanki are now free of the illithid web of minds. Our own power is free once more, and we may leave this place on wings of will. You will remain here, I fear, for we cannot carry you and still remain free ourselves. In the future, we will return and kill all the filth that their tentacles have touched."
Further dialogue can develop, and it may be somewhat cordial or lean towards anger at them leaving the party behind. Regardless, the githyanki will not be assisting with exploration or fighting with the party against the denizens of this complex. The party will have to cope on their own. Remember, the party may not have been able to escape without the Githyanki's initial assistance in the first place.
Westward into the Mind Flayer complex - first chamber[]
With the sealed door now finally opened, the party can enter a curved westward leading corridor that connects to a circular chamber.
This room is occupied with several illithids including more than one ulitharid and umber hulk pets. Expect a stiff resistance here from the hostile creatures.
Once the enemies are defeated, there are two closed doors available. One to the North, and another to the west.
North to the birthing pods[]
Through the north door a coridor leads to another closed door. Open this and observe a circular chamber beyond.
Within are a trio of illithids tending to the brine pool pods where tadpoles are birthed and nurtured.
A fight will take place in the chamber if any party members are detected.
Defeat these foes, then interact with a brine pool to examine it for information.
Collect some Brine[]
Using some empty vessels found in the chamber, the party can collect some of the fluid.
By doing so, up to eight Brine Potion containers can be had.
Imbibing the potion will bestow temporary immunity to some psionic attacks.
When ready, continue delving deeper into the complex. To the western door found previously.
Explore westward[]
Enter into a lengthy westward corridor. A side passage leads to the spectator gallery of the Gladiatorial Fighting Pit - now empty.
At the west end of the corridor is another closed door. Beyond is another round chamber.
A group of mind flayers, ulitharids and umber hulks are present. The most found in one area so far.
Plan and execute your tactical battle plan against these hostile forces.
Three directional choices[]
Destroying the defenders now leaves the party with three different paths it can try.
There are two doors to the north and one to the south.
One door north is sealed so that only an illithid or use of the Slayer Form can open it.
For purposes of documenting the area, assume the party tries the other northern door.
Illithid work and living chamber[]
Go northward into a short corridor and open a closed door.
Some kind of illithid work and living area is seen with odd decor and furnishings.
Several more mind flayer, ulitharid and umber hulk creatures are within.
Defeat the defenders and search the space for the Staff of Command.
South to the prisoner pods[]
Travel southward through a closed door and down a short corridor into a chamber dominated by three alien looking pods.
Each metallic object has a door that can be unlatched from the exterior.
Opening the door of any of these will reveal a prisoner within. Each of these creatures are hostile to the party and can't be reasoned with.
The pod on the north contains an umber hulk beast. The central one has an Insane Dwarf Warrior with a sling equipped. The last one holds a Kuo-toan Priest.
Some loot can be gathered from two of the prisoners, including the rare Ring of Fire Control.
Lair of the Master Brain[]
The last unexplored area is behind the specially sealed door to the north in the previous chamber. Attempting to open it displays a screen message that it can't be opened except by a powerful being. Similar to the earlier door in the saga.
To get past this door the party could attempt to use either the Control Circlet or the Staff of Command to dire charm an illithid and lead them to this door. A respawning illithid can still be found in the room of vats with the illithid serum.
A second way would be for the bhaalspawn to transform into the Slayer and open the door.
If the player is concerned about the loss of party Reputation that comes with evoking the slayer form transformation, then consider trying to open the door using a charmed mind flayer instead,
See the screenshot to the left - just maneuver the illithid close to the door, and it will open, and the creature will revert to a hostile being once again.
Behind the opened door is a short corridor leading to locked door. The lock can be picked, or potentially forced open, or a Knock spell will work.
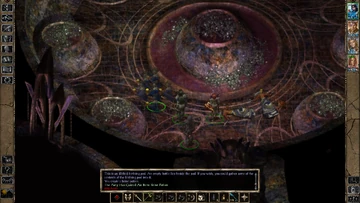
Opening the door will reveal only a portion of the Master Brain's lair and from the doorway only the MB can be discerned. A text message will also display on the combat log and describe some strong odors and other details.
If the brain detects anyone by the doorway it will trigger an Ego Whip attack on the first detected party member.
Within the lair are two illithid and an umber hulk attendants.
These creatures will engage in combat with any they can detect in the lair.
They may also pursue if the party retreats into the corridor.
If any damage is incurred by the Master Brain, this event triggers the spawning of two Brain Golem defenders in the lair.
At the same time, the door to the lair closes automatically and is locked again. It must be picked or forced open in order to pass through.
When the brain is killed a journal update will display and the locked door opens.
Final actions[]
Search dropped items held by the Master Brain and find a plethora of gemstones and the Elder Brain Blood.
Make for the exit leading back to the Underdark caverns and find the Slave Leader and his group waiting there (unless you killed them earlier).
See the screenshot (left) for the dialogue and subsequent reward.
Congratulations, the party has escaped the Mind Flayers!
Last encounter[]
After leaving the Mind Flayer complex, the party will eventually pass adjacent to the githyanki group and Simyaz. This occurs after crossing the bridge structure. Note that if they were killed earlier then obviously this entire encounter will not take place.
The group will not initiate dialogue, and the party can ignore them if desired.
However, if a party member speaks to Simyaz then a dialogue will open up, requiring replies.
Simyaz seems to know that the PC has the Silver Blade or at least had it at one time. He wants it back as it is considered a holy relic sacred to their race. The dialogue allows the PC to return it without any bloodshed. All the other dialogue choices will lead to hostilities. If the party wants to keep the blade, they may, but the githyanki will attack.
Should the party fight and kill the gith, their corpses may be looted. This is the last the party will see or hear from these blade hunting githyanki in chapter 5.
Treasure[]
You can find some unique equipment here. Near your cell, you can find the hilt of The Equalizer.
A Ring of Fire Control can be found as loot when opening a locked cell pod southwest of the area. The crazy dwarf within drops it when he is killed.
Methild's Harp is hidden in a wall niche near the door to the main complex entrance.
The powerful Staff of Command is hidden in a piece illithid furniture.
Gallery[]
Mod content[]
This section is about unofficial content that is only available via fan-made mods.
Sword Coast Stratagems revises this area and add extra or change the composition of Ulitharid and Mind flayer and Umber Hulk opponents based on the player's game difficulty setting. It may be very similar to the unmodified game in some rooms, and different in others.
The mod also revamps and improves the capabilities of all the illithid Psionic Ability powers. Many of their abilities have no easy safeguard - now a character under Chaotic Commands will be attacked with a different set of psionics to bypass that defense.
The Golem Construction for Spellcasters mod adds a rare tome to the Master Brain's loot. Additionally, the Master Brain and Brain Golem defenders drop "Brain Tissue" - a component necessary to construct your own brain golem for the party.


