


Download the ISO image file for the Endless OS version you would like to try. Your USB stick needs to be at least as large as the ISO image file.
If you use Endless OS or the GNOME desktop:
Insert your USB stick.
Launch GNOME Disks.
Select your USB stick in the sidebar on the left.
Click the ☰ menu on the top-right, and select "Restore Disk Image…"
Click in "None" and select the Endless OS ISO image file. 
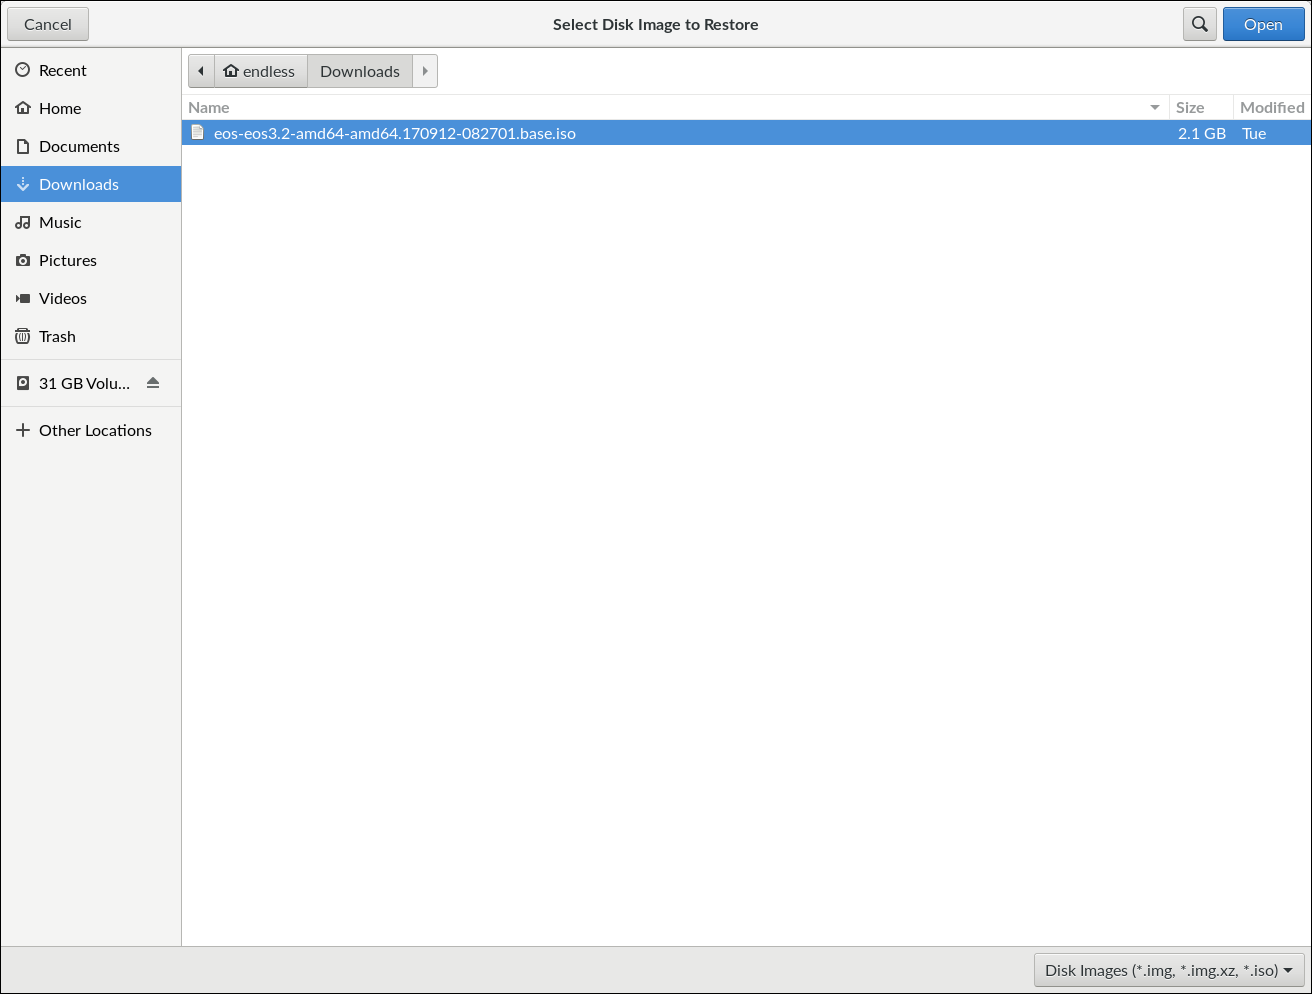
Click "Start Restoring"

Click "Restore"

Note that all files on your USB stick will be erased. Enter your password and click on "Authenticate".
The restore process will start automatically. 

When the process finishes, as in the example below, just remove your USB stick and it will be ready.
If you prefer to use the command line:
You can write the ISO image to your USB stick on the command line using our eos-write-image script or you can use dd to write the ISO image directly to your USB stick.
Note that Endless OS ISO images are not currently compatible with tools like UNetbootin and Universal USB Creator.
Below there is an example how to do this.
After download of the image ISO and our eos-write-image script, make the script executable. Via Terminal, search the folder where is the script. You can run the command chmod +x eos-write-image.
Open the Terminal program, list partitions of existing devices with the sudo fdisk -l command, press Enter and identify your USB device. It will probably be disk /dev/sdb:
You will need to unmount the partition using the command sudo umount /dev/sdb or sdb1 and press Enter, remembering that you need to have identified in the previous step what your USB device is.
Find the folder that is the ISO image and the script. In our example, these files are in the download folder.
Note: Possibly you will need to install the PV package with the following command: sudo apt-get install pv.
To save the image to your USB device use the following command: sudo ./<script> <image ISO> <device USB> and press Enter. After, press Y and press Enter.

When the process finishes, as in the example above, just remove your USB stick with safety and it will be ready.
Do you have a question?
Fill out our form giving us more information