Wednesday, 26 March 2014

Twelve questions to ask your Mug Rug Swap Partner


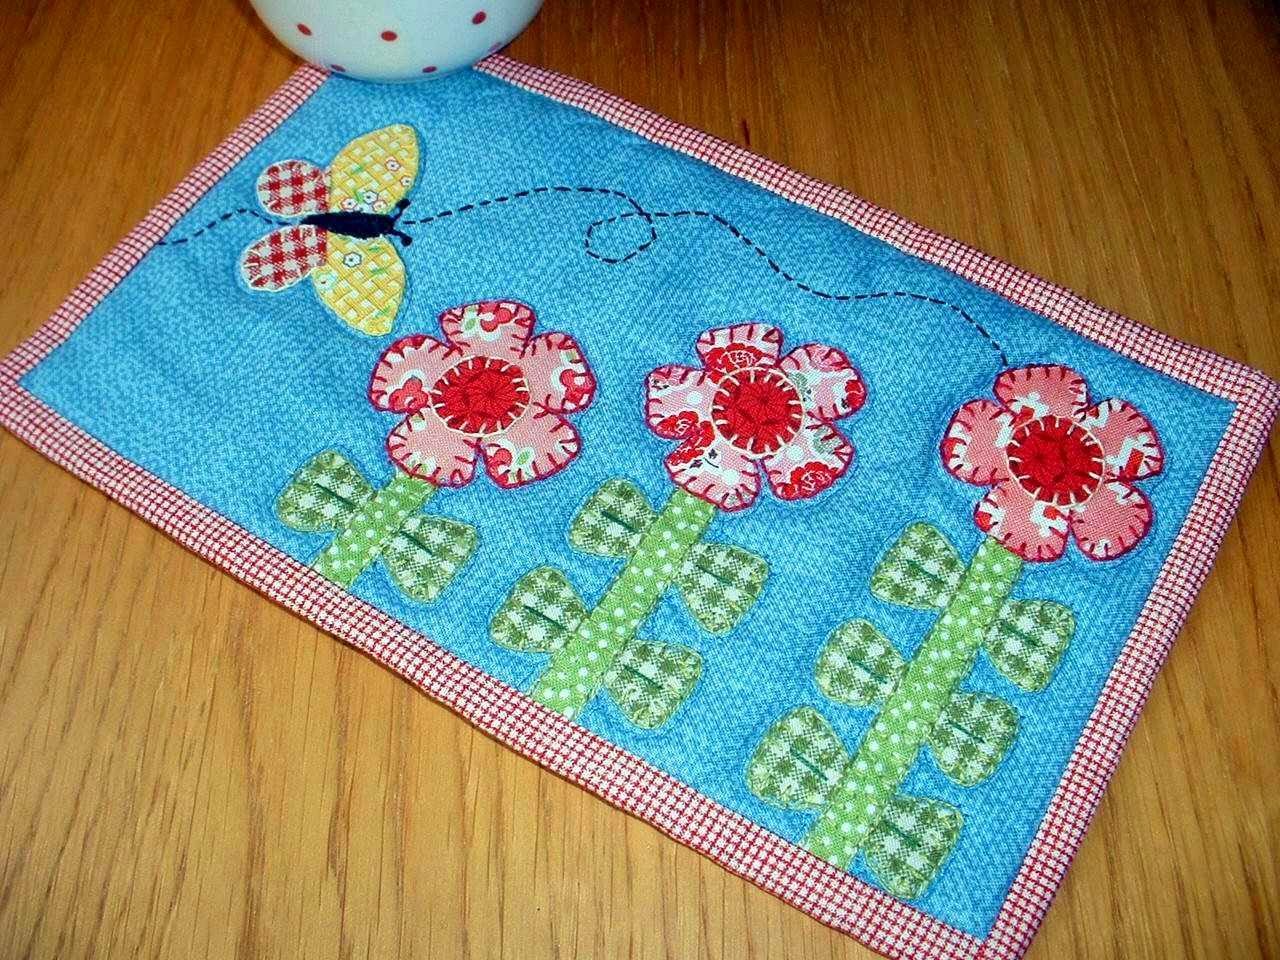
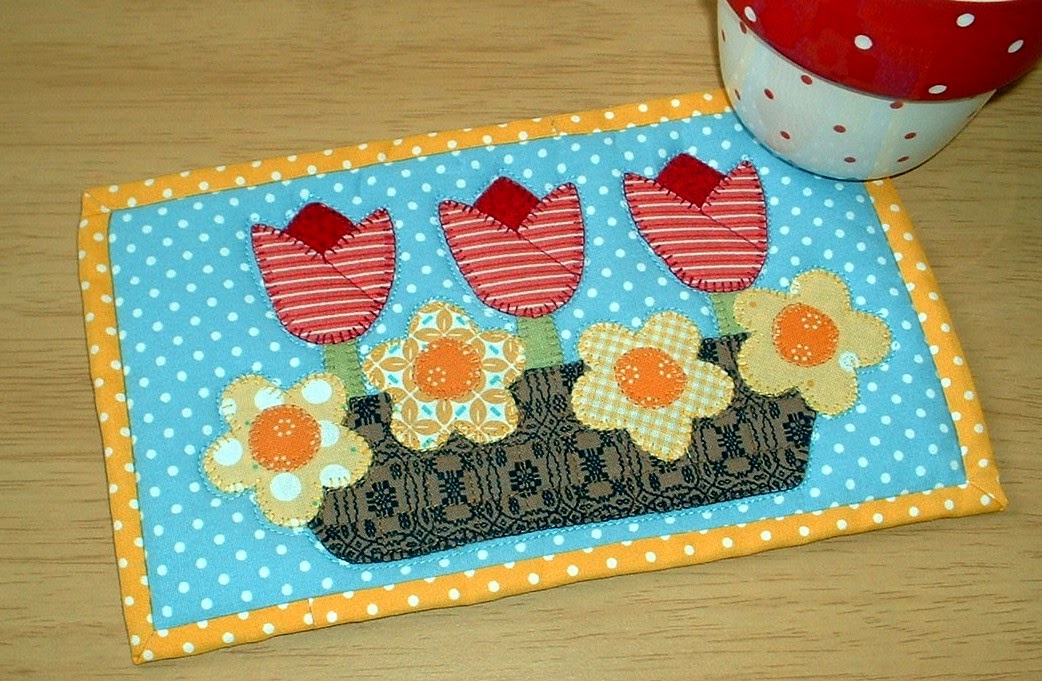
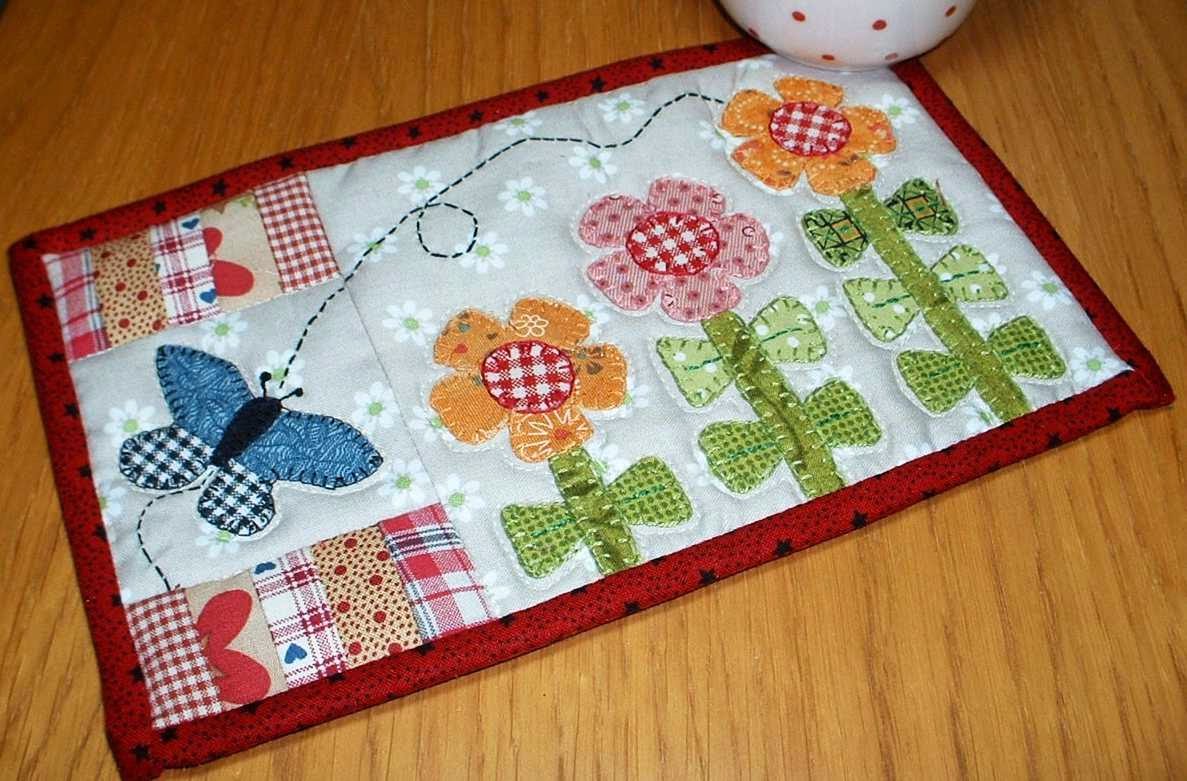
Many moons ago Amy, from Amy made That, asked me several questions prior to our first swap to gain an insight into my likes and dislikes.  This is such a good idea that I thought I would create a short list of twelve questions, specifically for the Springtime mug rug swappers.  Hopefully the answers to these questions will provide you with a hint of your partner's tastes whilst leaving you enough scope to use your fabric stash and fabric scraps. 
So without further ado - here they are:
1.         Bright or pastel?

2.         White or cream?
3.         Spring or Summer?

4.         Cup-and-saucer or mug?
5.         Floral or checks?

6.         Seaside or countryside?
7.         Red, green or blue?

8.         Hearts or diamonds?
9.         Stripes or dots?

10.       Cake or cookie?
11.       Smart or Casual?

12.       Modern or traditional?
And whilst you’re waiting to find out who your partner will be you might like to check out the Quilting Gallery Swap Facebook page for all the up-to-date gossip and chat. 

Sunday, 23 March 2014

Patchiqué Blocks 27 and 114

http://www.amazon.co.uk/gp/product/1568363788/ref=as_li_qf_sp_asin_tl?ie=UTF8&camp=1634&creative=6738&creativeASIN=1568363788&linkCode=as2&tag=manionehundth-21
Today sees a milestone on the Patchiqué journey – we pass the halfway mark.  The finished design requires 46 blocks and after this week, I have a total of 24 blocks made.  By my reckoning I should be finishing up the blocks at the end of the summer!

Block 27 from Japanese Taupe Quilts
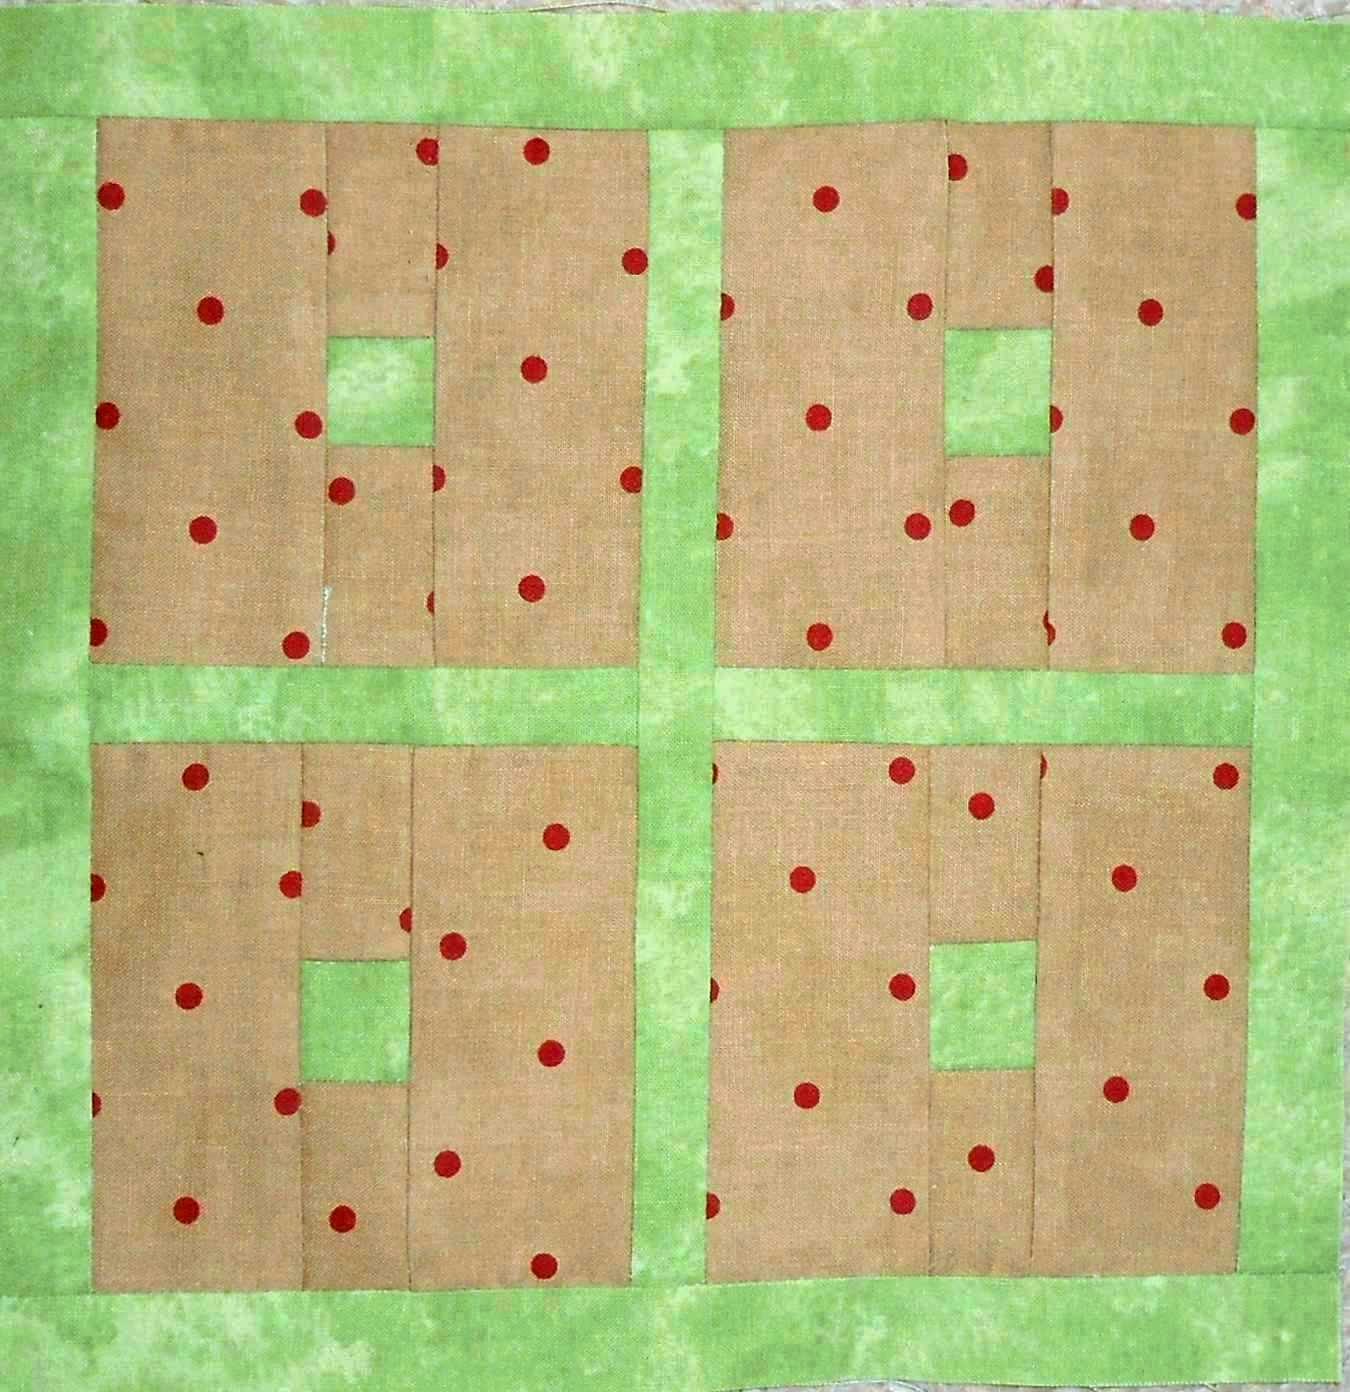
But let us not dwell on the road-not-yet-travelled but focus instead on patchwork block 27 ‘Hira yotsu me’ (translated as ‘four flat squares’).  What a lovely block – one of my favourites.  The notes in my book read ‘Love it.  Easy to make and exactly to size with no need for pins.’  That says it all.  If you cut accurately and use a scant ¼” seam then you too will end up with a delightful 9½” patchwork block.


https://www.flickr.com/photos/79143602@N04/13356760875/
Patchiqué Block 27 - Patchsmith Style

This block is one that I know I will return to in the future. And there I go again – looking ahead instead of enjoying the present.  And what a present Block 114 was.  This appliqué block is called 'Kikuha' which translates to Chrysanthemum circle - and you can see why.
Block 114 from Japanese Taupe Quilts
I used nine fabrics for the petals – cutting two from each fabric.  I overlapped the petals very slightly to get them to fit before adding the center circle. 


https://www.flickr.com/photos/79143602@N04/13356761605/in/photostream/
Patchiqué Block 114 - Patchsmith Style

This is a simple yet very effective block.  The block in the book used an asymmetrical stork fabric for the center but my brain is just too regimented – it doesn’t do asymmetrical or chaotic – preferring order and symmetry instead.   But as I have already deviated from the Japanese ‘style’ to embody a more ‘English Garden’ style I feel my fabric choices reflect the uniqueness of my Patchiqué quilt.

Check out all the blocks today on the Patchiqué Flickr group where you will find Susie’s wonderful blocks (more in keeping with the Japanese theme than my English blocks).
http://susiessunroom.blogspot.co.uk/p/patchique.html
Susie's Block 16

And if you fancy making just one block from this book then I can recommend either, or both, block 27 or 114.  Post a picture on the Flickr group so we can have a look at your unique take on the Patchiqué journey.

Sew until next time when I will be tackling patchwork block 12 and appliqué block 90 ......    

Sunday, 16 March 2014

New to Mug Rugs?

Are you thinking of joining in a mug rug swap but you're new to making mug rugs and unsure if a swap is for you? 


My advice is JOIN IN.  You will make friends and have fun.  And I am only an email away for any queries you may have.  
I've also put together some hints and tips to help you on your way ................

1.         If you are new to mug rugs, use a single piece for the mug rug background whenever possible.
http://www.craftsy.com/pattern/quilting/home-decor/growing-flowers-mug-rug/47635
Growing Flowers Mug Rug (Single Piece Background)

2.         Measure twice and cut once.  Good advice for all DIY projects – not just sewing. 
http://www.craftsy.com/pattern/quilting/home-decor/billy-goat-mug-rug/89545
Billy Goat Mug Rug
3.         Use a neutral background.  This will provide you with more choice when selecting the appliqué fabrics.  A mug rug always looks good if the appliqué contrasts with the background.  A neutral background provides the perfect setting for any pattern or colour of your choosing.
http://www.craftsy.com/pattern/quilting/home-decor/valentine-banner-mug-rug/84359
Heart Banner Mug Rug

4.         Lay your fabric choices out and then go away. or at the very least, turn away.   When you return to your fabrics you will be able to see whether the pieces blend, contrast and work together.
http://www.craftsy.com/pattern/quilting/home-decor/special-days-mug-rugs-booklet/84356
Spring Basket Mug Rug from 'Special Days' Booklet
5.         Wait for the fusible webbing to go cool completely before peeling away the backing paper.  If you have trouble removing the backing paper once it has been fused in place, scratch it carefully with a pin until you can slip the pin between the fabric and the paper.
https://www.etsy.com/uk/listing/182564267/butterfly-patch-mug-rug-pattern?ref=shop_home_feat_1
Butterfly Coaster from Butterfly Patch Mug Rug

6.         You may find it easier to hand appliqué your first mug rug or mini quilt unless you are really confident with your sewing machine.  You will find you have more control over the placement of hand stitching and, if you make a mistake, it will be easier to undo.
Hand Applique
7.         When starting out use a plain binding.   Stripes and checks require precision when cutting so that the pattern appears straight.   If in doubt choose a darker binding as this will frame the mug rug.
http://www.craftsy.com/pattern/quilting/home-decor/growing-flowers-mug-rug/47635
Growing Flowers Mug Rug (with dark binding)

8.         Less is more.  Start with three or four fabrics or colours.  If you limit the fabric and colour choices your finished mug rug will appear more cohesive.
http://www.craftsy.com/pattern/quilting/home-decor/jigsaw-mug-rug/85805
Jigsaw Mug Rug (Two Tone)
9.         Do not worry about wonky stitches or unmatched seams.  Look at the complete mug rug and focus on what you like most about it.
http://www.craftsy.com/pattern/quilting/home-decor/ice-cream-sundae-mug-rug/55562
Ice Cream Sundae Mug Rug

10.       As you become more familiar with the techniques and process you can play with fabric and patterns.
http://www.craftsy.com/pattern/quilting/home-decor/applique-and-mug-rug-alphabet/55479
Alphabet and Mug Rug Alphabet

11.       Share your achievements whether through a photo on Flickr, Pinterest or Facebook or through a mug rug swap.  Be proud of your work – from your very first stitch to the latest technique you are trying to master.
http://www.craftsy.com/pattern/quilting/home-decor/spring-lambs-mug-rug/44391
Spring Lambs Mug Rug
12.       Have fun.  Mug rugs are primarily about producing a functional little quilt whilst playing with fabric.  The most you will ever lose is a few small pieces of fabric and an hour or two of your time.  So smile at your mistakes – after all, they are really just learning experiences.
My first mug rug swap (warts and all!!)

And remember – there is always somebody to ask via Facebook or email or via a comment on a blog.  Quilters are some of the most helpful and friendliest people I know.  Send a question out into hyperspace and you will get answers.  And there is no better place to start that in the Mug Rug Basics tab above.

Sew until next time ................

Sunday, 9 March 2014

Patchiqué Blocks 16 and 94

http://www.amazon.co.uk/gp/product/1568363788/ref=as_li_qf_sp_asin_tl?ie=UTF8&camp=1634&creative=6738&creativeASIN=1568363788&linkCode=as2&tag=manionehundth-21
I am finalising the layout for the Patchiqué quilt as discussed last time but it will consist of a total of 46 blocks.  This week's two blocks, one patched and one appliqué will move me closer along the Patchiqué trail.
Block 16 from Japanese Taupe Quilts
This week's patched block is Block 16, ‘Kasuri kawari igeta’ – translated as “Kasuri well curb variation”.  This block turned out lovely – I chose a dark lime green for the centre and the grid is made up of shades of green with very light green in the corner blocks. 
Patchiqué Block 16 - Patchsmith Style
However, I found it hard to use a scant ¼” seam as the corresponding grid pieces wouldn’t fit so I was very careful and checked my measurements throughout.  All seemed fine. 

Discover my disappointment then when I find the finished block is ¼” too small.  If I made the block again I don’t think I could do any better.  I am just hoping that I can cover this small discrepancy with the sashing border I will be applying.  Nevertheless it is a lovely block that I am very pleased with.
 
Next up is this week’s appliqué block – Block 94 ‘Kikkō guruma’ (Bellflower wheel).   
Block 94 from Japanese Taupe Quilts
I had to trim the leaves ever-so slightly to make it fit but I think it is a pretty addition to the quilt.  The book calls for fusible bias tape for the flower stems but I used fusible appliqué instead.  I haven't added any detailing at this stage as I am thinking this will be added through quilting detail.
Patchiqué Block 94 - Patchsmith Style
Both blocks were lovely to make and took just one sunny spring morning.  Is there anything nicer than patching and appliquéing with the sun streaming through the window? 
 
Another two blocks done - that makes 22 in total.  Still a way to go so be sure to come back and join me in a fortnight when I will be making blocks 27 and 114. 

Sew until then ......