Birthday, Blog Hop/Creative Showcase, Designer/Patterned/Specialty Papers (DSP), Handmade Cards, Stampin' Up!, Sympathy

Balmy Blue: Mediterranean Blooms

2024-25 blog header

I’m thrilled you are here to join us each Wednesday evening for the AWHT Colour Creations Blog Hop showcasing the full range of 50+ gorgeous Stampin’ Up! colours.

Week 8 – Balmy Blue

Today I feature the Mediterranean Blooms Designer Series Paper. If you know me, you know I love blue and this paper is beautiful.

Project 1

The main image is fussy cut using Paper Snips from a piece of the Designer Paper and the reverse side has these gorgeous blue patterns. On my Balmy Blue cardbase, I have a layer of ther DSP matted onto Night of Navy cardstock. On top of this is a Night of Navy piece diecut using the Countryside Corners dies and dry embossed with the Timber 3D Embossing Folder.

Sending Love card with Mediterranean Blooms for Balmy Blue Colour Creations blog hop by Kate Morgan, Stampin Up Australia 2024

The image is added with Dimensionals and I used my Night of Navy Stampin’ Blends Marker to colour the centre section between the oranges which was white. I felt it blended better. I cut some Night of Navy Glittered Ribbon lengthwise so it was narrow and tied it in a double bow and placed it just under the lower orange. The sentiment is heat embossed in White Emboss Powder and Versamark ink, then fussy cut. Some Brushed Brass Butterflies were added to finish off.

The inside of the card I decorated with more layers of the Countryside Corners dies and a strip of DSP.

Sending Love card with Mediterranean Blooms for Balmy Blue Colour Creations blog hop by Kate Morgan, Stampin Up Australia 2024 inside

Project 2

A little Pocket card or it could be used for a gift card. Patty Bennett, a US Demonstrator, shared her version of these a week or two ago and I thought it was such a neat idea to use Designer papers to create the envelope/pocket. Here I have used two more of the patterns from the DSP. The labels on the front are Unbounded Love dies and the flower is coloured using Wink of Stella. Some balmy Blue Rainbow Adhesive-backed Dots are added below the sentiment.

Pocket card or Gift card envelope with Mediterranean Blooms for Balmy Blue Colour Creations blog hop by Kate Morgan, Stampin Up Australia 2024

I decided to create a litte card with a tag [Perennial Postage & Unbounded Love dies] to pull it out. The sentiment [Country Birdhouse] is stamped in Balmy Blue ink.
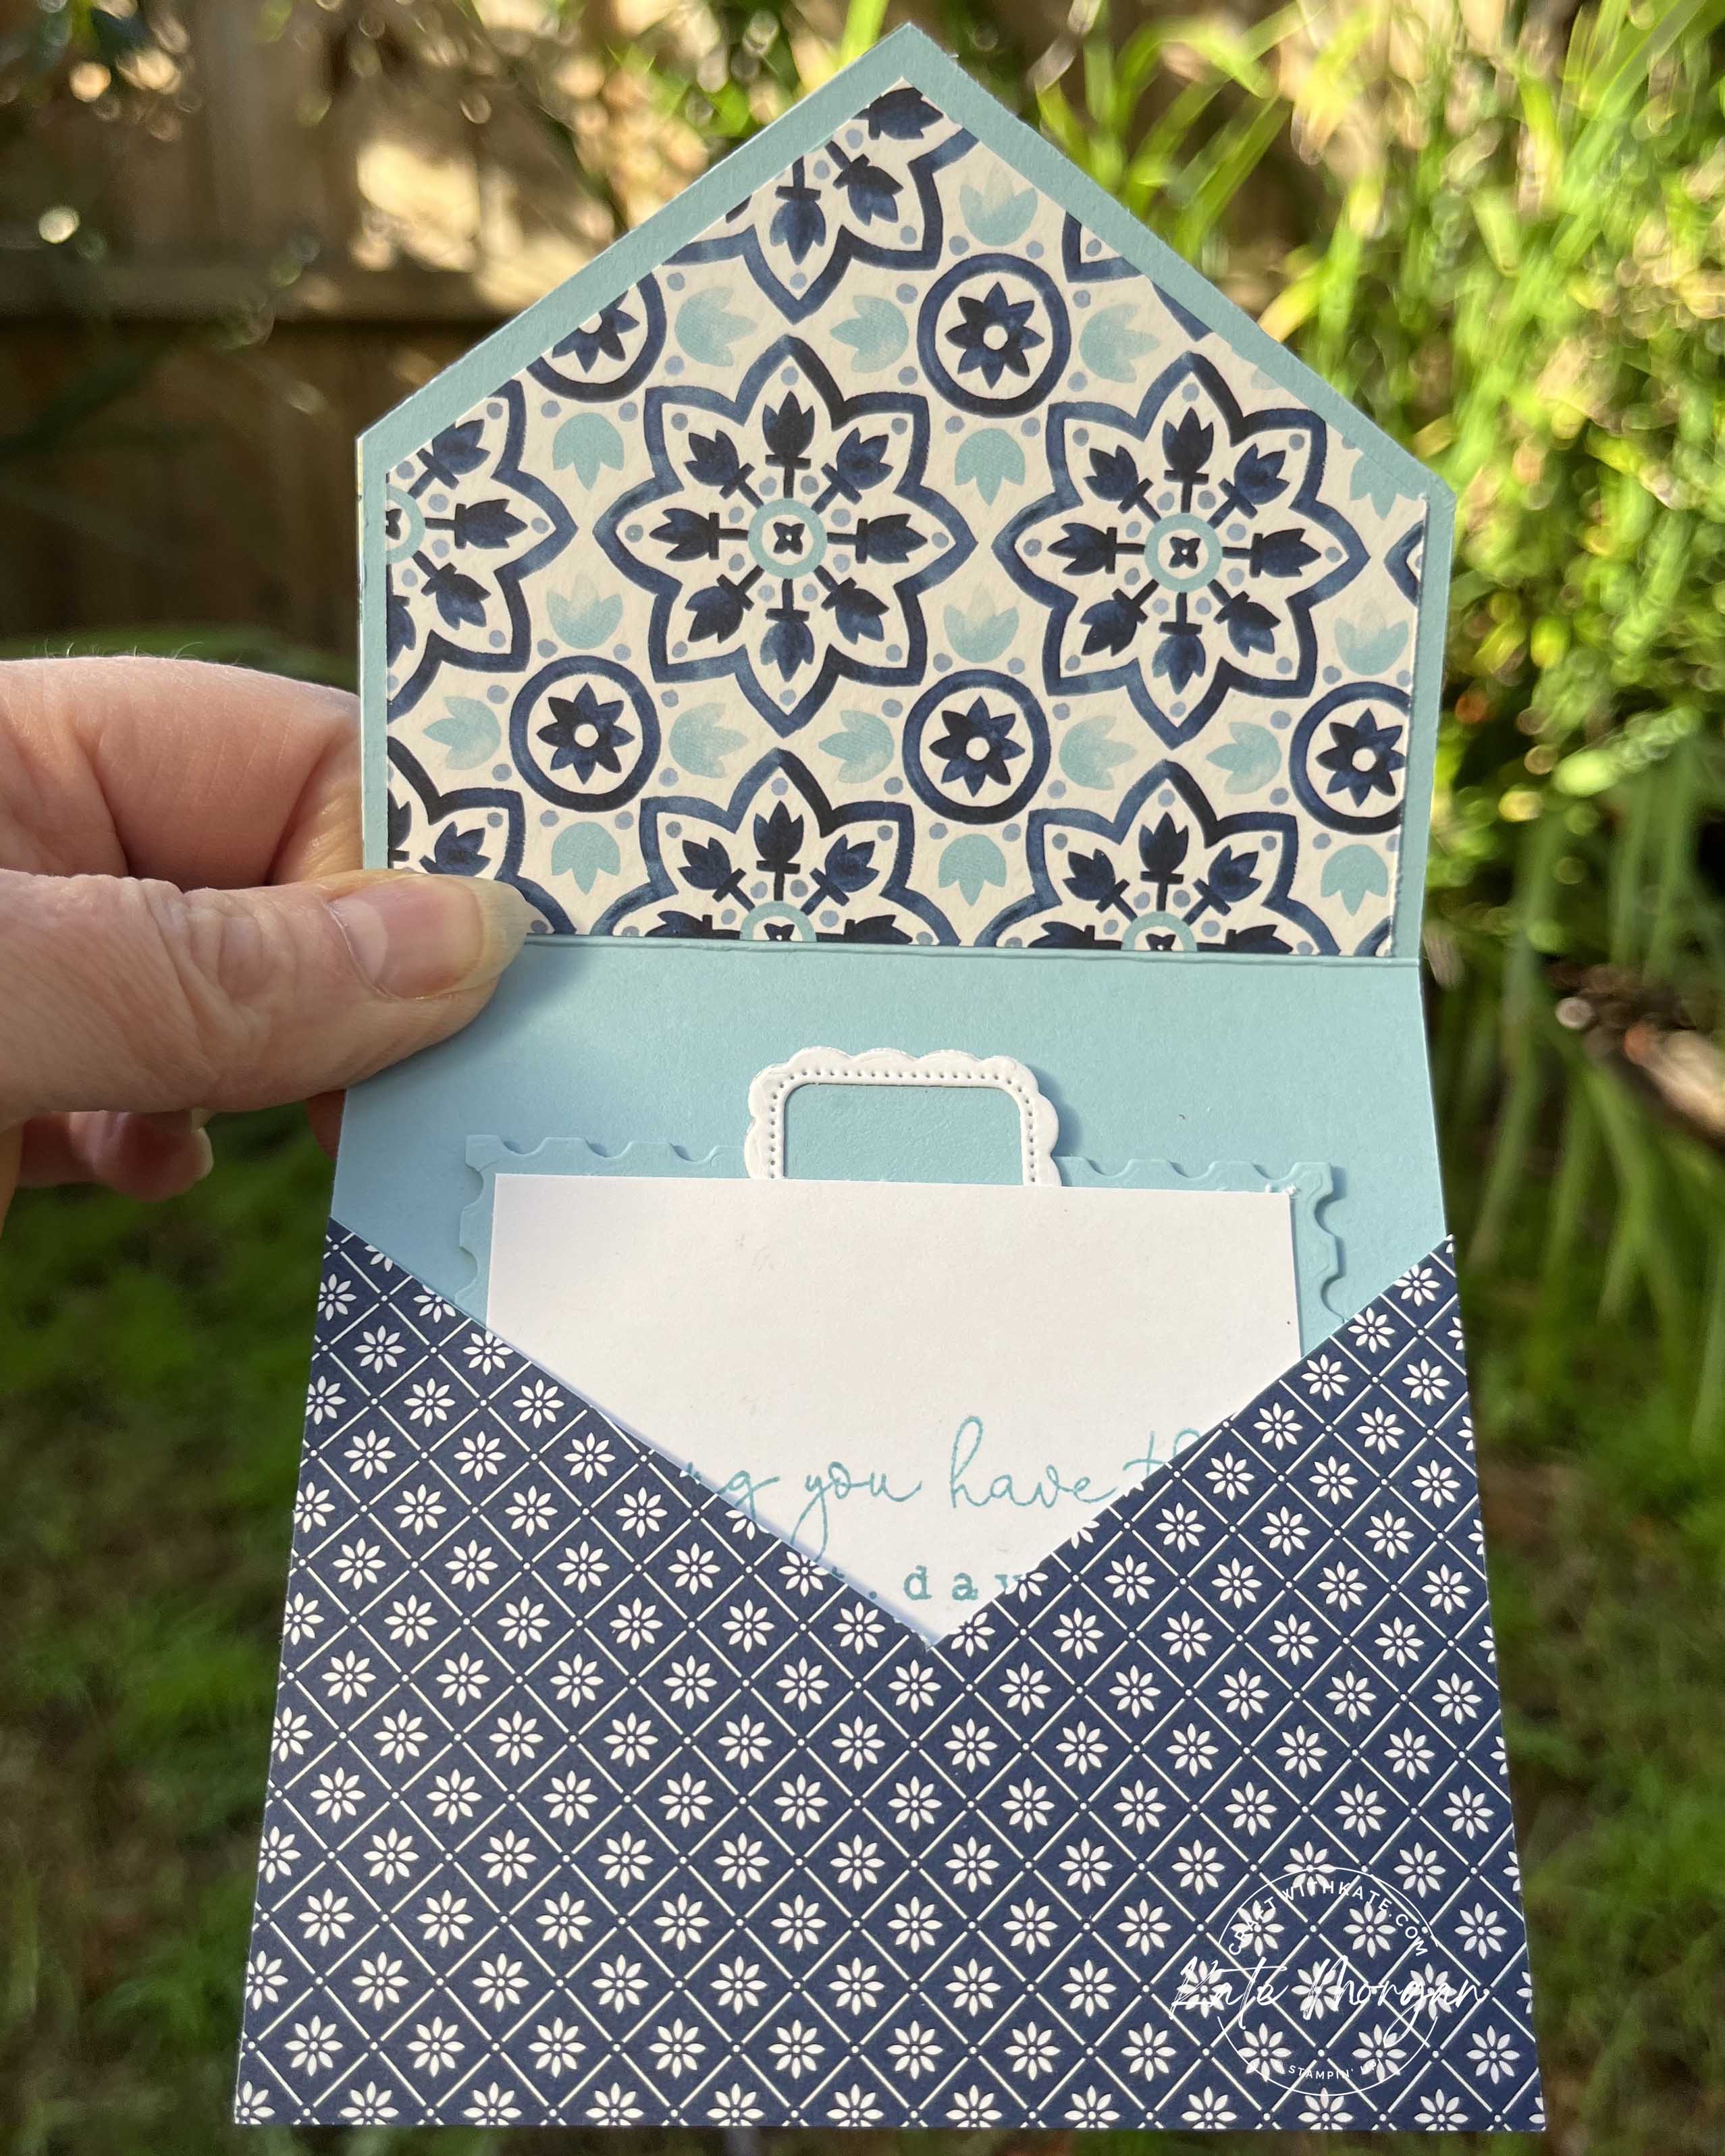
Pocket card or Gift card envelope with Mediterranean Blooms for Balmy Blue Colour Creations blog hop by Kate Morgan, Stampin Up Australia 2024 open

Pocket card or Gift card envelope with Mediterranean Blooms for Balmy Blue Colour Creations blog hop by Kate Morgan, Stampin Up Australia 2024 fully open

Thanks for dropping by. I hope you join me next Wednesday for inspiration using Basic Gray.

Please enjoy the wonderful inspiration of my lovely friend, Christine Blain.

2024-25 Next Blog Button

The full list of participants for this week can be viewed on Catherine Proctor’s blog.

Product List
Stamps: 
Country Flowers, Country Birdhouse
Dies: Countryside Corners, Unbounded Love, Perrential Postage
Card/DSP/Specialty Paper: Basic White C6 Envelopes, Mediterranean Blooms DSP, Balmy Blue, Night of Navy, Basic White
Inks: Versamark, Balmy Blue
Stampin’ Blends Combo Markers: 
Night of Navy
Embellishments: Night of Navy Glittered Ribbon, Brushed Brass Butterflies, Rainbow Adhesive-backed Dots
Accesories/Adhesives/Tools: Wink of Stella, White Emboss Powder, Timber 3D TIEF, Paper Snips, Bone Folder, Paper Trimmer, Multipurpose Glue, Glue Dots, Stampin’ Seal, Stampin’ Dimensionals, Stampin’ Cut & Emboss Machine, Take Your Pick Tool, Simply Shammy, Heat Tool, Water Painters, Tear & Tape
* can be purchased together as a bundle to save 10%

Shop with Kate Morgan


Be sure to download a PDF copy of current catalogues from my SU Catalogue Library page.

Don’t forget to Follow My Blog to receive blog updates and all the latest news and specials!

Birthday, Blog Hop/Creative Showcase, Designer/Patterned/Specialty Papers (DSP), Fancy Folds, feminine, Gift Ideas, Handmade Cards, Kids Cards, Stampin' Up!

Teenage Birthday Pop Up Giftcard Holder

2023-2024 AWH Colour Creations header

Each week some of the Art With Heart team are joining  the Colour Creations Blog Hop to bring you creative inspiration showcasing our range of 50+ gorgeous Stampin’ Up! colours.

Week 26 – Gorgeous Grape

Today’s card was made for my niece who recently celebrated her birthday.  As I never know what to get a teenager these days, I just give her cash or a gift card to spend on whatever she likes, so why not make a pop up gift card holder within the card!

I love this colour combination of Gorgeous Grape with Fresh Freesia and Basic White. The beautiful designer papers really help to bring this card together. The floral pattern is from the Delightfully Eclectic DSP pack and the others are part of the Subtles 6″ x 6″ DSP pack.

The Share a Milkshake stamp set and coordinating dies were the perfect images for a teenager, right?!! I mean who doesn’t love a good milkshake?!

Share a Milkshake Pop Up Gift Card Holder Gorgeous Grape Colour Creations Blog Hop by Kate Morgan, Stampin Up Australia 2023

Those Deckled Rectangles were perfect choice for with a little bit of sponging around the border with the same colour ink, as it just blended in with the background.

Share a Milkshake Pop Up Gift Card Holder Gorgeous Grape Colour Creations Blog Hop by Kate Morgan, Stampin Up Australia 2023 open

On the inside is where the mechanism is for the gift card holder to slide up as the card opens. At the top, I added some basic white card to write a message. Those cute little hearts are from the Share a Milkshake dies too. I also gave them a kiss with Wink of Stella magic!!! The sentiment is from the Throughout the Year stamp set. The envelope was stamped with some more hearts in Gorgeous Grape.

Share a Milkshake Pop Up Gift Card Holder Gorgeous Grape Colour Creations Blog Hop by Kate Morgan, Stampin Up Australia 2023 envelope

Thanks for dropping by. I hope you can join me next Wednesday for inspiration using Granny Apple Green.

Please hop across to our next participant and enjoy the wonderful inspiration of Christine Blain.

2023-2024 Next blog button AWH Colour creations

If you come across a broken link or have come from a different entry point, a full list of participants can be viewed on Cathy’s blog.

Click on this image to find all the details of this amazing joining offer!

Product List
Stamps: 
Share a Milkshake, Throughout the Year

Dies: Deckled Rectangles, Share a Milkshake
Card/Paper: Basic White, Gorgeous Grape, Fresh Freesia, Delightfully Eclectic DSP, Subtles 6″x6″ DSP
Inks: Fresh Freesia, Gorgeous Grape
Other: Stampin Pierce Mat, Wink of Stella, Sponge Dauber, Paper Snips, Multipurpose Glue, Stampin’ Dimensionals, Mini Stampin’ Cut & Emboss Machine, Stampin’ Cut & Emboss Machine, Paper Trimmer, Simply Shammy, Bone Folder
* can be purchased together as a bundle to save 10%

Shop Online Craft with Kate10-yr-anniversary-badge


Be sure to download a PDF copy of current catalogues from my SU Catalogue Library page.

Don’t forget to Follow My Blog to receive blog updates and join my Newsletter Subscription for all the latest news and specials!

Blog Hop/Creative Showcase, Christmas, Designer/Patterned/Specialty Papers (DSP), Gift Ideas, Handmade Cards, Holiday Catalogue, Jul-Dec Mini Catalogue and Sale-a-bration, Stampin' Up!

CCBH Cherry Cobbler – Christmas Deer Pocket Card

CCS Logo 2021-22

Each week some of the Art With Heart team are joining the Colour Creations Blog Hop to bring you creative inspiration to showcase our range of 50+ gorgeous Stampin’ Up! colours.

A blog hop, also known as blog hopping, is to move from one blog to another, continuing in a full circle to read all the posts by participants in the hop. At the end of each post will be a link to continue to the next blog!

Week 10 – Cherry Cobbler

Tonight I have a pocket card that you can add some money or a gift card inside along with your Christmas message. If you are like my kids, they want nothing more than this type of gift for every occasion!

The Peaceful Deer Bundle (#156391) is fantastic value at only $62 for the Peaceful Deer photopolymer stamp set (#156891) and the Deer Builder Punch (#156390). It is going to get lots of use for my Christmas projects this year.

Peaceful Deer Pocket Card for Cherry Cobbler CCBH by Kate Morgan, Stampin Up Australia Christmas 2021

The Peaceful Prints DSP is one of the Sale·a·bration items that can be selected free with any $90+ order between 3 Aug – 30 Sept. The best part is that it coordinates with the Peaceful Deer Bundle. In fact, the deer image is punched with the Deer Builder Punch from the patterned paper!

Peaceful Deer Pocket Card for Cherry Cobbler CCBH by Kate Morgan, Stampin Up Australia Christmas 2021.

The only stamping is the sentiments and the images on the white card insert in Cherry Cobbler & Sahara Sand to coordinate with the papers.

Basic Instructions

  • Cherry Cobbler Cardstock = 8¼” x 5¾”, score landscape at 2½” & 6½”
  • Fold the short end up and add a little multipurpose glue on each end and seal to create the pocket
  • Peaceful Prints DSP (front) – 5½” x 1½” and 5½” x 4½”
  • Basic White Insert – 3¾” x 4½”
  • Sahara Sand cardstock – 3″ x 3″

Thanks for dropping by.

Please click on the image below to head across to the next blog on tonight’s hop and see the wonderful inspiration of Sharon Davern!

CCS Next Button

If you come across a broken link or have come from a different entry point, a full list of participants can be viewed on Catherine Proctor’s blog.

Shop Now for Items specific to this project

Shop Online Craft with Kate


Be sure to download a PDF copy of current catalogues from my SU Catalogue Library page.

Don’t forget to Follow My Blog to receive blog updates and join my Newsletter Subscription for all the latest news and specials!

Blog Hop/Creative Showcase, Christmas, Designer/Patterned/Specialty Papers (DSP), Fancy Folds, Stampin' Up!, Techniques & Tutorials

Colour Creations: Gray Granite Pocket Card with a hidden surprise inside!

9bdc0-34343751_10157403755198098_7101250458500464640_o

Welcome to another Art With Heart Team Colour Creations weekly Blog Hop. Tonight we are featuring Gray Granite!!!

I have made a Pocket card, but it’s no ordinary Pocket card as it has a hidden surprise inside. Read on to find out more!

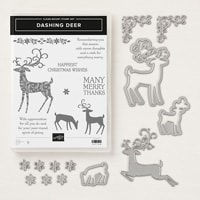
The Festive Farmhouse Designer Series Paper is the feature, along with the Dashing Deer bundle. You may recognise that deer from a recent card I made. I had stamped a few extra and it was perfect for this card too.

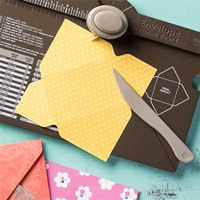
The full instructions are written below, but I used the Envelope Punch Board to make this and added the Circle Tab Punch pull tab to the card inside.

Pocket Gift Card for Christmas 2018 using Stampin Up Dashing Deer, Festive Farmhouse DSP by Kate Morgan, Australia.JPG

Can you see what may be inside?!! Yes a gift card.

Pocket Gift Card for Christmas 2018 using Stampin Up Dashing Deer, Festive Farmhouse DSP by Kate Morgan Australia.JPG

The belly band is created with the Scallop Tag Topper punch and held together with White Baker’s Twine. I stamped the sentiment in Gray Granite on white card and used the Everyday Label Punch to cut it out, but it was too big, so I cut it down at the top and bottom! A piece of Whisper White card is added to the back of the insert to add your message.

Pocket Gift Card for Christmas 2018 using Stampin Up Dashing Deer, Festive Farmhouse DSP by Kate Morgan Australia..JPG

I can see I will make quite a few of these for Christmas gifts this year!

Instructions on how to make your own Pocket card:
To make your own pocket card with secret gift card inside, use the envelope punch board and make an envelope using 7½” x 7½” card, scored at 3” on EPB.
Cut off the top flap. Do not glue it together until the card insert is made and inserted.
Card insert: 3½” x 7” score a 2”.
Place Tear & Tape along the side edges of the flap only and fold up to create the pocket for the gift card.
Using the Circle Tab Punch cut x 1 in the same cardstock colour.
Using the ¾” circle punch, cut 2 x DSP. Glue these to the circle tab punch piece.
Fold in half and glue it to the top, centre of the card insert.
Now that the card insert is inside the envelope, you can glue the flap to hold it together.
Cut a piece of DSP 7½” x 2” and punch both ends with the scallop tag topper punch.
Wrap it around the card and tie together with a piece of 11” baker’s twine.
Decorate as desired.
You can leave it loose like a belly band or glue it to the envelope to hold it in place!

Head on over to Catherine’s blog where you’ll find the links to other participants.

To purchase these products click on the images below in the product list to take you directly to my online store!


2018-2019 Annual Catalogue ends 3 June 2019
2018 Holiday Catalogue ends 2 January 2019
Be sure to download a PDF copy from my SU Catalogue Library page today.


Don’t forget to Follow My Blog to receive blog updates and join my Newsletter Subscription for all the latest news and specials!

 Happy Stamping,

Blog Signature

Blog Button - Catalogue  Blog Button - Shop   Blog Button - Classes  Blog Button - Join my Team  Blog Button - Watermark

Product List

Christmas, Designer/Patterned/Specialty Papers (DSP), Gift Ideas, Jan-Jun Mini Catalogue and Sale-a-bration, Stampin' Up!, Techniques & Tutorials

Merry Christmas! Impossible Gift Box

Dear Crafters,

Merry Christmas to everyone! It may not quite be Christmas Day where you are, but here in Australia it is Christmas morning, my kids are up and going through their Christmas stockings, waiting patiently (haha) for all the adults (we have my inlaws staying here too) to wake so they can open the rest of the presents under the tree! It’s such a magical time of the year ♥

Today I can finally share this little gift box idea inspired by Julie DiMatteo of The Paper Pixie. I made one following Julie’s video tutorial, but it wasn’t tall enough to fit in a gift card, so I played with the measurements and came up with one that was slightly taller, and you know what, I did it!!!

This box is called the Impossible gift box and when you see it, you think, how on earth do you make that? But, once you have made one, you will be quite surprise and fall in love with it too!

So, the one on the right is using Julie’s measurements, and the one on the left are my altered measurements!

Impossible Gift Box using Stampin Up Party Pandas by Kate Morgan, Independent Demonstrator, Australia 3D DIY.

I wrote the names of my niece’s on the letter held by the pandas, so no need for additional gift tags!!! Winning!!!!

Impossible Gift Box using Stampin Up Party Pandas by Kate Morgan, Independent Demonstrator, Australia 3D DIY

What I love most about these boxes, is that the lid isn’t a separate piece which can get lost. It is all in one and you lift the top of the box to open it and fill it up. See the pictures below as to the mechanism of how it opens, just so clever! I was able to fit a gift card, lip gloss and some Christmas chocolates into each one before closing it up again.

Impossible Gift Box using Stampin Up Party Pandas by Kate Morgan, Independent Demonstrator, Australia 3D DIY closed  Impossible Gift Box using Stampin Up Party Pandas by Kate Morgan, Independent Demonstrator, Australia 3D DIY half open  Impossible Gift Box using Stampin Up Party Pandas by Kate Morgan, Independent Demonstrator, Australia 3D DIY open

Unfortunately, I cannot supply a full list of product used, as many are retired and this is the perfect time to use them up when making Christmas gifts, however, the Panda stamp set is going to be available from 3rd January as one of the Sale-a-bration stamp sets, along with the Bubbles & Fizz Designer Series Paper used on that same project! The Lemon Lime Twist ribbon will also be available on 3rd January in the Occasions catalogue!

Be sure to download a copy of the Occasions catalogue and the Sale-a-bration brochure on my SU Catalogue Library page on 3rd January 2018.

Click here to watch how Julie made her impossible gift box!

My measurements for the taller box are:
Base card 9” x 8¼”
Score on 9” side at 2”, 6”, 7”, 8”
Score on 8¼” side at 2”, 4”, 6”, 8”

Don’t forget to Follow My Blog to receive blog updates and join my Newsletter Subscription for all the latest news and specials!

Happy Stamping,

Blog Signature

Blog Button - Catalogue  Blog Button - Shop   Blog Button - Classes  Blog Button - Join my Team  Blog Button - Watermark

Birthday, feminine, Flowers, Gift Ideas, Kids Cards

Gift Card Holder

Dear Crafters,

Gift Card Holder #stampinup

Today I share a couple of gift card holders (cased from Claire Daly) which are very simple to make.

You can create 3 of these from 1 x A4 sheet of cardstock by cutting it vertically at 7cm x 29.7cm!

I used the Lots of Labels Framelits to die cut the end of the card, then score it at 3-1/8″ and 7-3/4″.

Emboss the opposite end to the framelit cut end and adhere Stampin’ Up! Tear and Tape to create a pouch. (This tape can be cut vertically so you have a very thin strip, otherwise the gift card won’t fit in!)

Create a belly band that slips over to hold it shut and decorate however you like. I have used the 2-3/8″ Scallop circle punch and added some embellishments. The ice-cream is the Sprinkles of Life stamp set which can be found on the back page of the AC.

Gift Card Holder #stampinup

and here it is open with the gift card inside!

Gift Card Holder #stampinup

Please leave a comment below if you like my card today.

All Catalogues, Clearance Rack & Weekly Deals are available online here! They are full of amazing new products and wonderful inspiration. It is a must have for anyone interested in Ink, Paper and Stamps!

Shop Online 24/7 for products

Don’t forget to Follow My Blog to receive blog updates and join my Newsletter Subscription for all the latest news and specials!

Happy Stamping,
Name Banner
feminine, Gift Ideas

Gift Card Holder with EPB

Dear Crafters,

Today I share with you some gift ideas created using the Envelope Punch Board (EPB)!

I am using Crisp Cantaloupe and Strawberry Slush cardstock as they are my favourite 2013-2015 In Colours and I will be so disappointed when they retire shortly.

Gift Card Holder EPB Mini Post It Note Holder

The base card is Crisp Cantaloupe with a layer of Strawberry Slush then some Designer Series Paper Stack called All Abloom.

Here is the Gift Card Holder in the closed position.

Gift Card Holder with EPB

Open it up and you get this!

EPB Gift Card Holder  EPB Gift Card Holder

I love the All Abloom DSP Stack and the little sentiment on the punched labels and the flower with the rhinestone finishes it off!

Gift Card Holder with EPB

I also made a Mini Post It Note Holder in the same colours!!!

EPB Mini Post It Note Holder

I would love you to comment below with your thoughts on these projects.

All Catalogues, Clearance Rack & Weekly Deals are available online here! They are full of amazing new products and wonderful inspiration. It is a must have for anyone interested in Ink, Paper and Stamps!

Shop Online 24/7 for products

Don’t forget to Follow My Blog to receive blog updates and join my Newsletter Subscription for all the latest news and specials!

Happy Stamping,

Name Banner

Challenges, Gift Ideas, JAI

JAI#202 ~ Just Add Stripes

Hello Crafters,

If you saw my blog post yesterday, it was of some gift card holders and so I thought I would create another one today for the Just Add Ink ~ Just Add Stripes Challenge!

I used the Envelope Punch Board to create the tabs for closing this gift card holder. I used the Gorgeous Grunge stamp set to create the background stripes, stamping one way and then the other, giving it more of a tartan look. I stamped the Five Way Flower stamp in Tangerine Tango and Wild Wasabi ink on white card and punched out with the scallop circle punches. Then used dimensionals to give them a lift between the layers and a brad on the top. 

The ribbon is Whisper White Taffeta and I coloured it with the Wild Wasabi ink pad before adhering to the card and making a bow to stick on the front.

JAI#202

Here it is open!

JAI#202

Did you see the embossed stripes of the insert holding the gift card?!!!

Why don’t you have a go at some of the weekly challenges too on the Just Add Ink page!

Shop Online 24/7 for products

Be sure to visit the Just Add Ink page to view the rest of the Design Team samples, they are just gorgeous!

Happy Crafting,

Name Banner